Table of Contents
Driftwood can make a fish tank look more natural, but it needs proper prep before it goes into the water. If you skip this step, you may end up with brown water, floating wood, or white biofilm.
That is why learning how to clean driftwood for fish tank is important. With the right cleaning and soaking process, you can make driftwood safer, more stable, and much easier to manage in your aquarium.
Why Cleaning Driftwood Before Aquarium Use Matters
Even when a piece of driftwood looks clean on the outside, it may still carry loose dust, wood particles, bark fragments, residue from storage, or organic material stuck in deep grooves. Once that enters the aquarium, all of it becomes your problem. The water may cloud, debris may settle around the substrate, and the setup may look messy right away.
Cleaning driftwood also matters because it helps you evaluate whether the piece is actually suitable for aquarium use. A strong piece of driftwood should feel solid and stable. It should not smell rotten, crumble under pressure, or show large soft areas that may break down underwater. A quick surface rinse is not enough to reveal all of that. You need a more deliberate inspection and cleaning process.
There is also the visual side of the equation. Many aquarists love the natural blackwater look created by tannins. Others want a bright, crystal-clear display tank. Neither preference is wrong, but both outcomes start with prep. Cleaning and soaking do not always eliminate tannins completely, but they give you much better control over how intense the color release will be.

How to Clean Driftwood for Fish Tank: The Safest Step-by-Step Method
If you want a reliable process that works for most aquarium driftwood, this is the operational baseline. The goal is not to make the wood sterile in a clinical sense. The goal is to make it clean, stable, and predictable before it enters the tank. In practical terms, how to clean driftwood for fish tank comes down to inspection, scrubbing, rinsing, soaking, and testing the piece before final placement.
Step 1: Inspect the driftwood first
Start by looking over the entire piece closely. Check for loose bark, splinters, soft spots, moldy areas, sharp edges, or any signs of decay. A piece with minor texture differences is normal. A piece that feels mushy or smells foul is not a strong candidate for aquarium use.
This first review helps you catch issues early. If the wood is already breaking down outside the tank, it is not going to perform better once submerged. Driftwood should feel dense enough to hold up over time, even if it has natural twists, cracks, or knots. Start by examining the wood for soft spots or signs of decay before proceeding

Step 2: Scrub the surface with plain water
Use a clean brush and plain water to scrub every accessible part of the wood. Focus on grooves, holes, crevices, and ends where dust and debris tend to collect. A medium or stiff brush usually works well because it removes buildup without damaging the wood structure.
Avoid detergents, dish soap, or general household cleaners. Even small residues can soak into the wood and later leach into the aquarium. This is one of the most common mistakes made by beginners who assume “clean” automatically means “safe.”

Step 3: Remove loose bark and unstable material
If bark is peeling off, remove it. Bark tends to break down faster underwater and can create unnecessary debris in the tank. The same goes for soft outer layers or visibly weak fragments that can be brushed away.
This step matters even more if the piece was collected outdoors or bought as decorative wood rather than aquarium driftwood. The cleaner and more stable the structure is before soaking, the easier the rest of the process becomes.

Step 4: Rinse thoroughly
Once the piece has been scrubbed, rinse it well under running water. Rotate it to flush out any remaining dust, loosened wood particles, and residue from brushing. At this stage, you are mainly dealing with surface-level cleanup, but that still makes a big difference in how the wood behaves later.

Step 5: Soak the driftwood
Soaking is where driftwood prep becomes real. Place the wood in a large bucket, tub, or container and keep it submerged as much as possible. This step helps release tannins, reduce the intensity of brown water later, and begin the process of waterlogging the wood so it sinks more easily.
Change the soaking water regularly, especially at the start. If the water turns dark quickly, that is normal. Many hobbyists searching how to clean driftwood for fish tank are actually dealing with tannin concerns, and soaking is one of the most effective ways to manage that issue without overcomplicating the process.

Step 6: Boil the wood if the size allows
If the driftwood is small enough to fit in a pot safely, boiling can accelerate the prep cycle. It can help loosen dirt trapped in the wood, release tannins faster, and shorten the time needed for the piece to absorb water. Boiling is especially useful for smaller hardscape pieces used in nano tanks or compact aquascapes.
Đối với những tác phẩm nghệ thuật lớn, luộc thường không khả thi. Trong những trường hợp đó, ngâm lâu là lựa chọn khả thi hơn.

Step 7: Test before placing it in the tank
Before final installation, evaluate the wood again. Is it still trying to float hard? Is the soaking water still extremely dark? Does the surface feel clean and stable? Does the wood smell normal?

You do not need driftwood to be perfect before using it. You just want to reduce preventable problems. If the piece is clean, structurally sound, and much less reactive than day one, it is usually in a far better position for aquarium use.
Read more:
- How to Use Driftwood in Aquarium: Complete Guide for Beginners & Aquascapers
- How to Place Driftwood in Fish Tank: Step-by-Step Guide for Natural & Stable Aquascaping
Boiling vs. Soaking: Which Method Works Better?
A lot of aquarium owners treat boiling and soaking like competing strategies, but in reality they are just two different tools. The best choice depends on the size of the driftwood, the amount of tannin release, and how fast you need the wood ready.
| Method | Best For | Main Advantage | Main Limitation |
|---|---|---|---|
| Boiling | Small to medium pieces | Faster tannin release and quicker prep | Not practical for large wood |
| Soaking | All sizes, especially large pieces | Easy, safe, scalable | Takes longer |
| Boiling + soaking | Small pieces when you want speed | Strongest overall prep workflow | Requires more hands-on effort |
If your piece is compact, boiling followed by soaking is often the most efficient route. If your piece is large, dramatic, or heavily branched, a scrub-and-soak process is usually the smarter operational move.
How Long Should You Soak Driftwood Before It Goes Into the Tank?
There is no exact universal timeline because driftwood type, density, thickness, and condition all affect how it behaves in water. Some pieces are ready much faster than others. What matters more than the calendar is whether the wood is becoming stable.
In general, smaller and lighter pieces tend to soak faster. Dense or thick pieces usually take longer. Heavily textured branchwood may keep trapping air, while darker, denser wood may still sink more easily once waterlogged. The real indicators are practical: the water becomes less dark over time, the wood stops fighting to float, and the surface remains clean without shedding much material.
This is where many users realize that how to clean driftwood for fish tank is not just about scrubbing. It is also about curing the wood enough for actual tank performance. A piece that looks clean but still dumps heavy tannins or pops to the surface every few hours is not fully prepped from a usability standpoint.

How to Remove Tannins From Driftwood Faster
Tannins are a natural part of many driftwood types. They are not automatically harmful, and some aquarists specifically want them for a softer, more natural-looking blackwater setup. But if your goal is clear water, tannins quickly become the main issue.
The fastest way to reduce tannins before the wood enters the aquarium is to combine three actions: scrub the surface well, boil when possible, and soak with repeated water changes. Each cycle removes more color. If the water is still coming out very dark after multiple soaks, keep going. The wood is still releasing what it has stored.
If the driftwood is already in the tank and the water turns tea-colored, the situation is still manageable. Water changes can dilute the color, and filtration media can help improve clarity if a clear-water aesthetic is important for your setup. The key point is to understand that brown water does not always mean something is wrong. It often means the wood is still fresh.

What Causes White Fungus or Biofilm on Driftwood?
One of the most confusing early-stage problems is the appearance of a white, fuzzy, or slimy coating on the wood. It can look alarming, especially in a freshly set-up tank, but it is often a temporary biofilm or fungus-like buildup associated with new driftwood.
This happens because organic compounds in the wood create a food source for microbes. In many cases, the growth is harmless and fades as the tank matures. Some fish, shrimp, or snails may even graze on it. That does not mean it looks good, but it does mean you should not automatically assume disaster.
If you are researching how to clean driftwood for fish tank because white growth appeared after setup, the right response is usually measured rather than aggressive. You can gently remove some of the buildup during water changes, improve circulation if needed, and give the aquarium time to stabilize. What you should not do is panic and start introducing unsafe cleaning products.

Can You Use Found Driftwood in an Aquarium?
This is where many people try to save time or money and end up creating extra risk. Found wood from beaches, rivers, forests, or backyards can look amazing, but not every piece is appropriate for aquarium use. Some wood types break down too fast. Some may have been exposed to chemicals, salt, pollutants, or organic contamination that you cannot fully see.
That does not mean found driftwood is always unusable. It means the evaluation standard needs to be much higher. The wood must be structurally sound, correctly identified as safe or at least suitable hardwood, and cleaned far more carefully than typical store-bought aquarium driftwood.
For most hobbyists, especially beginners, purpose-sold aquarium driftwood is the lower-risk route. It still requires prep, but it usually starts from a more manageable baseline.
Common Mistakes That Make How to Clean Driftwood for Fish Tank Harder Than It Should Be
Most driftwood problems do not come from the wood itself. They come from rushed prep, incorrect assumptions, or trying to force a shortcut. That is why how to clean driftwood for fish tank becomes much easier when you avoid the following mistakes from the start.
- Using soap or household cleaners: This is the biggest red flag. Cleaners designed for kitchens and bathrooms are not designed for aquarium systems.
- Skipping the soaking stage: A quick scrub may improve appearance, but it does not address tannins or buoyancy well enough.
- Ignoring loose bark and soft areas: Unstable material usually becomes tank debris later.
- Assuming white biofilm means the wood is ruined: In many cases, it is temporary and manageable.
- Adding outdoor wood without enough evaluation: Found wood can be high risk when identification and treatment are uncertain.
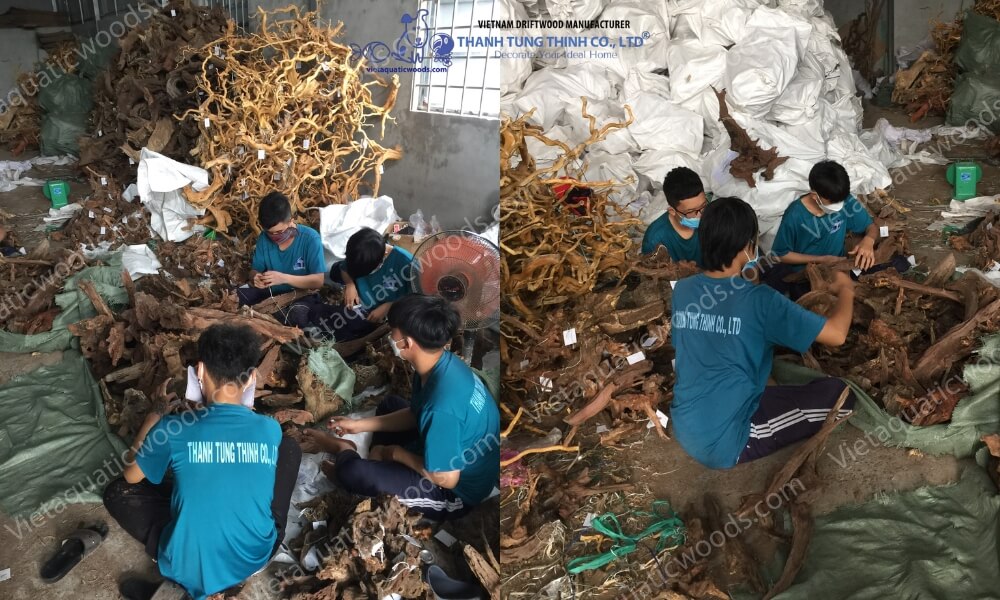
If you want to reduce prep issues from the start, sourcing matters. Driftwood from a professional wood manufacturer is often more consistent in structure, cleanliness, and overall handling quality. Buyers looking for export-capable supply can explore Thanh Tung Thinh’s driftwood collection.
Start your sourcing today:
- Request a wholesale price list tailored to your order volume
- Get samples to evaluate product quality before bulk purchase
- Discuss your custom driftwood supply Vietnam or OEM requirements
- Website: https://vietaquaticwoods.com/
- Contact now to receive your wholesale catalog and quotation
How to Keep Driftwood Clean After It Is in the Tank
Once driftwood is established in the aquarium, maintenance becomes much lighter. You do not need to deep-clean it on a strict schedule. Instead, driftwood should be part of normal tank upkeep.
During water changes, siphon debris that collects around the base of the wood. If a surface buildup becomes visible, gently brush or wipe it while doing maintenance. If a little biofilm returns in the early weeks, monitor it rather than overreacting. In mature systems, driftwood usually settles into the tank ecosystem and becomes much easier to manage.
Long-term success is not about making the wood look factory-new forever. It is about keeping it stable, clean enough, and compatible with the rest of the aquarium.
Final Thoughts
The best driftwood setups start before the wood ever goes into the tank. A strong process protects water quality, reduces visual problems, and keeps the first few weeks from becoming a cycle of preventable troubleshooting. Once you understand how to clean driftwood for fish tank, you stop guessing and start controlling the outcome.
The core playbook is straightforward: inspect the piece, scrub it with plain water, remove loose bark, rinse it thoroughly, soak it long enough, and boil it when practical. From there, manage tannins with patience, treat white biofilm as a temporary issue unless proven otherwise, and let the wood become fully stable over time.
FAQ Section
1. Do I need to boil driftwood before putting it in an aquarium?
No. Boiling is useful, but it is not always required. It works best for small to medium pieces because it helps release tannins faster and can shorten prep time. Large pieces can usually be cleaned and soaked instead.
2. How long should driftwood be soaked before it goes into a fish tank?
There is no exact timeline for every piece. Soak the driftwood until it becomes more stable, releases less color into the water, and is less likely to float aggressively.
3. Why does driftwood turn aquarium water brown?
That color usually comes from tannins released by the wood. It is common with many driftwood types and is not automatically harmful. The intensity depends on the wood and how well it was soaked beforehand.
4. Is white fungus or biofilm on driftwood dangerous?
In many cases, no. White biofilm on new driftwood is often temporary and may disappear as the tank matures. It can be removed during maintenance if needed.
5. Can I use driftwood from outside in my aquarium?
Possibly, but it requires much more caution. Outdoor wood may carry contaminants or may not be a safe wood type for submerged aquarium use. Store-bought aquarium driftwood is usually the safer option.
6. How can I make driftwood sink faster?
Longer soaking is the safest and most reliable solution. Smaller pieces may also respond well to boiling first, then soaking. Aquarium-safe anchoring methods can help during the transition.
7. Can I clean driftwood with soap, bleach, or household cleaners?
It is best to avoid them. Plain water, brushing, soaking, and careful prep are the safer standard for aquarium driftwood.